How to Install Coaxial Cable Connectors?A Step-by-Step Guide
Author: Will Publish Time: 30-07-2025 Origin: Site
■ How to Install Coaxial Cable Connectors?
Although less commonly employed in modern-day interference as compared to twisted-pair and fiber-optic cables when building local area networks or even during video transmission, coaxial cables are still in use for very old LAN technology and for some video applications. The fundamental operation of coaxial cable connectors remain an important skill expected from networking experts, be it while dealing with the RG-6, RG-58, or RG-62 cables.
■ Various Types of Coaxial Cable Connectors
The most common kinds of coaxial cables you'll encounter are RG-6, which is for 방송 and 카블 TV installations, and RG-58 and RG-62, which are used mostly in local area networks (LANs). Each type requires a specific connector.
BNC Connector: This is mostly seen in Local Area Network links using RG-58, RG-62, and Tip 734/735 cables. The male BNC connectors have knurled grip and the type with the quarter-turn locking slot.
F Connector: Usually built in with video RG-6 cables, this one is also referred to as a coaxial cable TV connector.

■ Connector Installation Methods
Coaxial connectors are generally installed using one of two methods.
Crimp-on Connectors: These require the cable to be stripped off from the half, served into the connector, and crimped with a crimp tool to keep it secure. This is the most reliable method and is recommended for professional use.
Screw-on Connectors: These connectors have inner threads that enter into the cable sheath. They are less complicated to set up and are of lower quality.
Tip: Avoid the approach of connecting with screw-on connectors in industrial-use cases, as they can be easily separated.
■ Tools Required
Before starting, ensure you have the following tools:
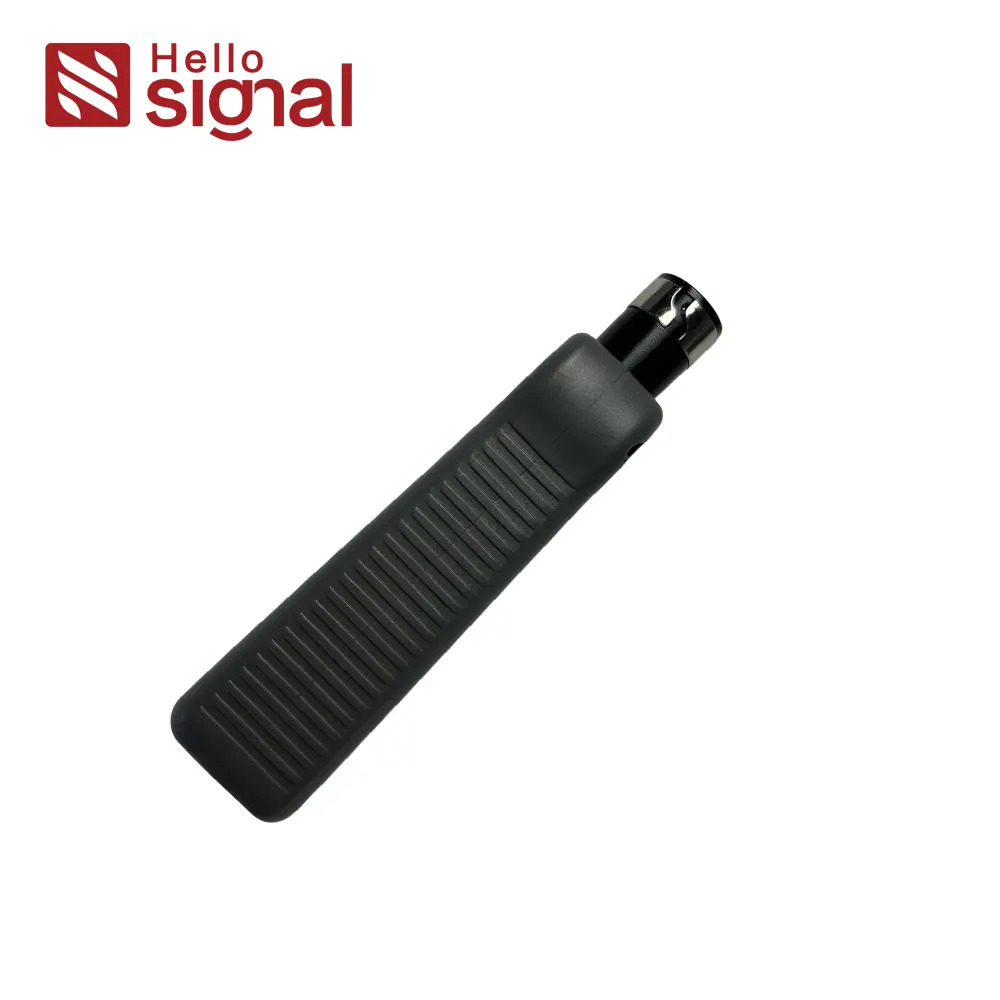
Image | SKU | Tool Name | Description |
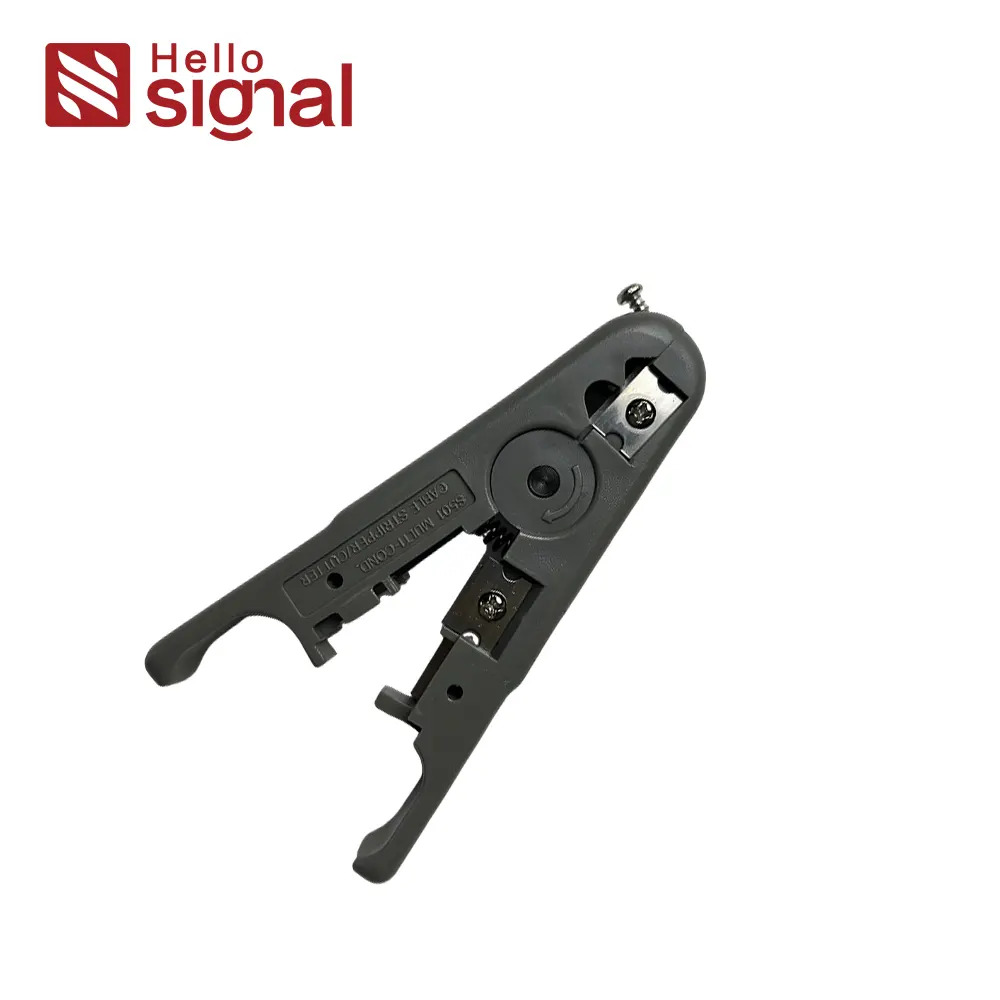
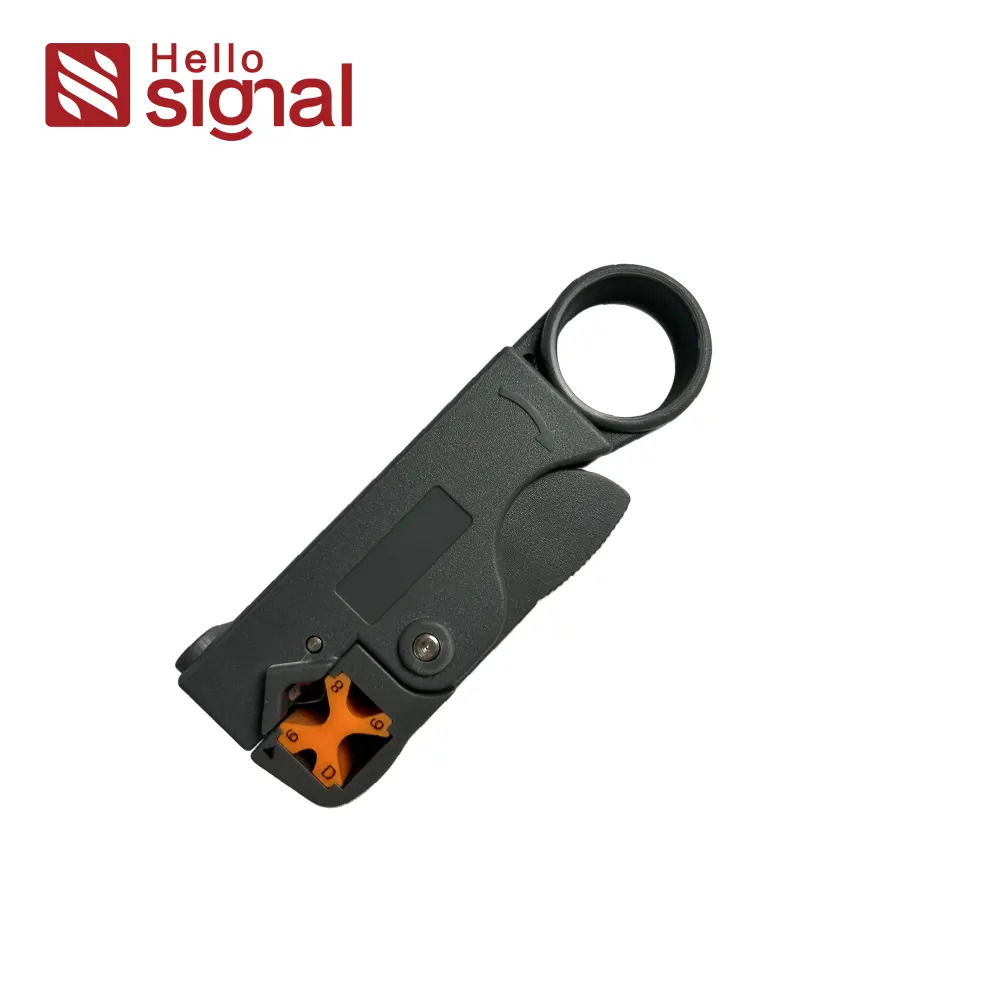 | ZCRCCS001-G | Used for precise stripping of RG6/RG59 coaxial cables | |
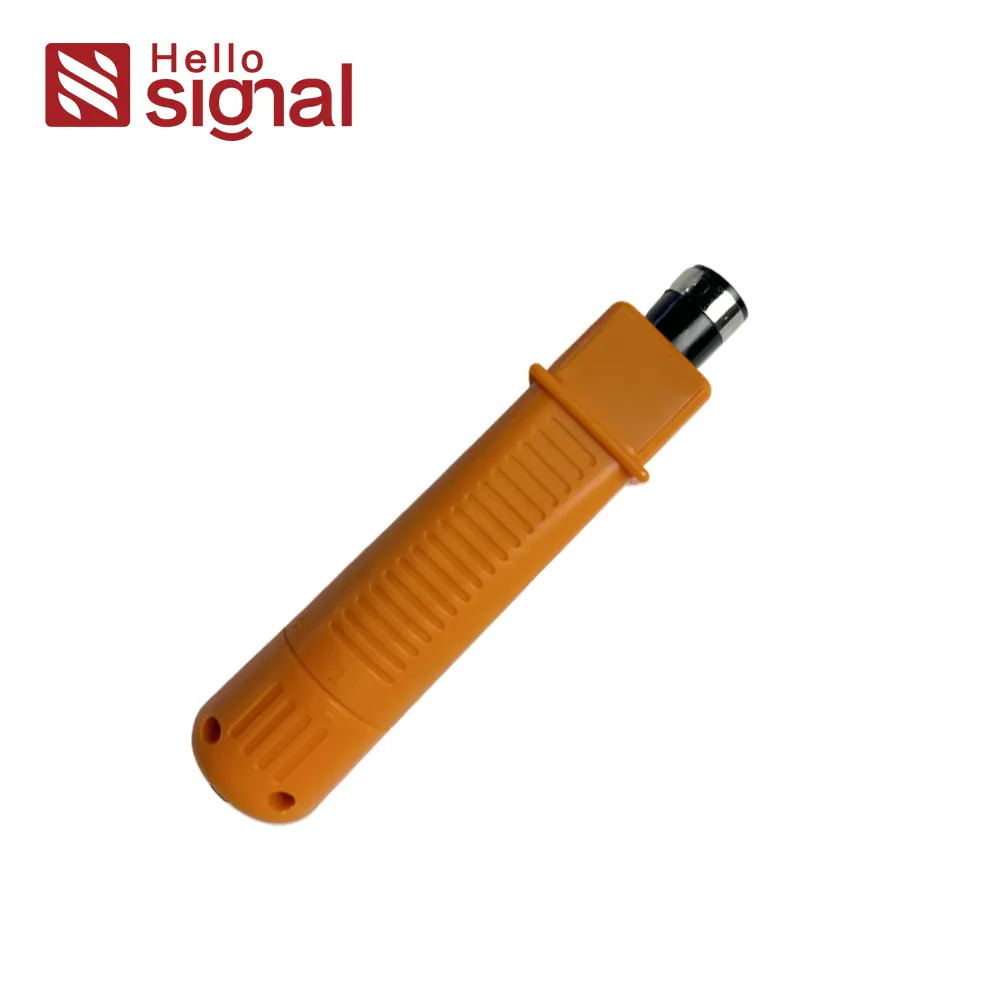
 | ZCMPCT001-BBE | Suitable for crimp-on coaxial connectors | |
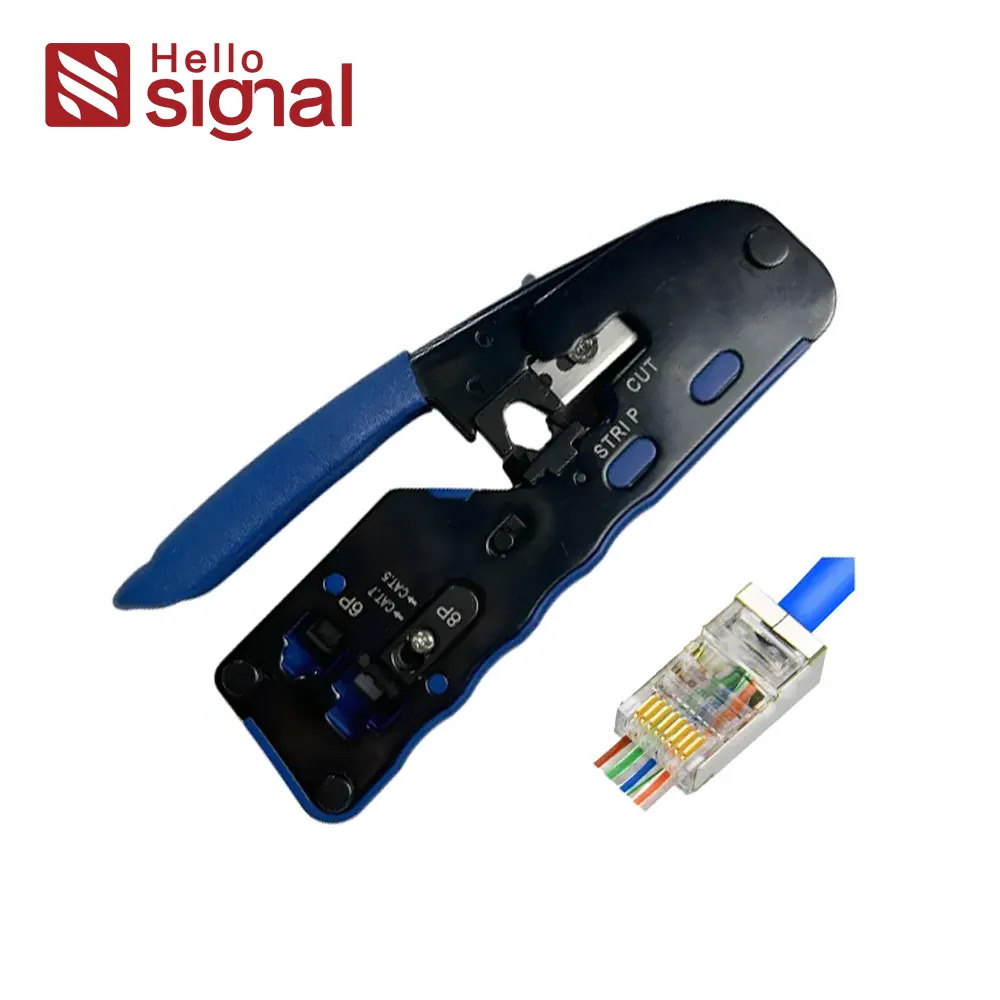
 | ZCWST001-G | For stripping round or flat Ethernet cables (not ideal for coax but useful for comparison) | |
  | ZCPDT001-O / ZCPDT002-G | For structured cabling setups, not coax-specific |
■ Connector Crimping Procedure
Follow these steps to install a standard 3-piece crimp-on coaxial connector.
Cut the Cable:
The process of cutting up with the cable cutters determined desirable length.
Slide the Crimp Sleeve Onto the Cable:
This part will later become the part of the connector body securing to the cable jacket.
Strip the Jacket:
An outer jacketing of around 5/8 inch; it is to be stripped off by a coaxial cable stripper. Push the cable fence just so the cutter bar joints in the location where the cable is one inch from its end. Cover the stripper twice, remove the outer sheath, and reveal the shield to the world.
Trim the Braided Shield:
Once the metallic clothbacking is folded back, trim to the length that leaves about 1/4 inch braid.
Strip the Insulation:
Cut out the thermoplastic insulator with 3/16 inch from the end length of the copper conductor. Bare about 7/16 inch of the jacket should be left.
Attach the Center Pin:
Introduce the loose center conductor into the pin’s center hole and crimp it twice by handing over the task to the ratcheting crimper. The pin has to be firmly fixed, with no possible movement.
Install the Connector Housing:
Push the connector body onto the cable until the center pin clicks into place.
Secure with the Ferrule:
Push the ferrule towards the connector, taking care of the shielding and barrel. With crimp, you have to do it twice. In the first instance, it is done beside the connector, and in the second case, beside the jacket.
Inspect the Connection:
Verify that the output device is evenly connected to the source. In case it is not hardly - it might be - try disconnecting and connecting it again.
Repeat on the Other End:
Using the same procedure, screw in the connector on the opposite side of the cable.
■ Final Testing
Once both ends have been assembled, use a cable tester to see if you're getting continuity and your connections are secure. Testing makes it necessary to make sure there are no shorts or breaks in the cable.
■ Conclusion
You need to be very careful about the installation of coaxial cable connectors as a misstep may lead to bad transmission of video and networks. Signal integrity across a network or connection is assured using suitable types of cables and connectors as well as performing proper cable stripping and crimping that would help you get rid of high costs from inevitable failures.
ZION Communication proffers a full range of quality tools and accessories for coaxial cables. They include rotary strippers, crimpers, and testers. These tools help technicians in achieving connections that are both consistent and durable in the LAN and video systems.
Contact us for more information

Will is the Copper Cabling Product Manager at Zion Communication,
specializing in the development and marketing of Ethernet cabling solutions.
With extensive industry experience, he is dedicated to delivering high-performance
and reliable cabling products to OEM/ODM clients worldwide.
will@zion-communication.com
+86 -18268007201


