How to Install Fiber Optic Connectors? Types, Tools & Procedures
Author: Will Publish Time: 30-07-2025 Origin: Site
■ Comprehensive Instructions
The first fiber-optic connections employed rather slow connector termination techniques as the act would take up to half an hour. In line with this, further advancements in the connector design and style can result in the expertise of an installer finishing the task in less than five minutes. Even with sharing in efficiency, fiber connector installation is still an effort in which precision and safety form the central themes. This guide will take you through different connector types and installation methods, step-by-step procedures, the essential tools, and safety recommendations.
■ Connector Types
Various connectors suitable for different kinds of fiber cables and installation conditions can be found. The following are typical:
MPO - This is used in parallel in high-density data centers and as the backbone wiring.
LC - Space saving design and they being used in today’s LANs and data centers.
SC - Push-pull lock-in mechanism, frequently used in older and present networks.
ST - Push-pull connector, thus design is used in multimode fiber systems.
FDDI - Legacy data systems of the past.
FC – Threaded but deliberately, it is for its specific usage in single-mode networks.
Apart from MPOs (typically factory-terminated), the remainder (the majority) of the connections are often terminated in the field.
■ Connector Installation Methods
Generally, the field-attachable connectors tend to employ three common methods:
Epoxy and Polish - Effective for two of the most widely used methods; involves curing of the epoxy and polishing.
Mechanical Splice - Can be done quickly, does not need adhesion, allows for a temporary fix or rapid repair.
Fusion Splice Connectors - This jointing type is using fusion splicing with a connector.
Each type refers to its own components, including the time to be taken, the equipment to be needed, and the durability.
■ Tools and Materials Needed
The necessary tools and consumables are of utmost importance for a successful installation. Core Fiber Tools:
Epoxy resin and a curing device, such as UV curing equipment (for UV-curable resins) or a curing oven (for thermal curing).
Stripping tool for jackets and fibers.
Kevlar scissors
Cleaver or scratch pen.
We will need a fiber polisher with different polishing pads.
A microscope having a magnification of 200× or 400× is used.
Fiber trash disposal can
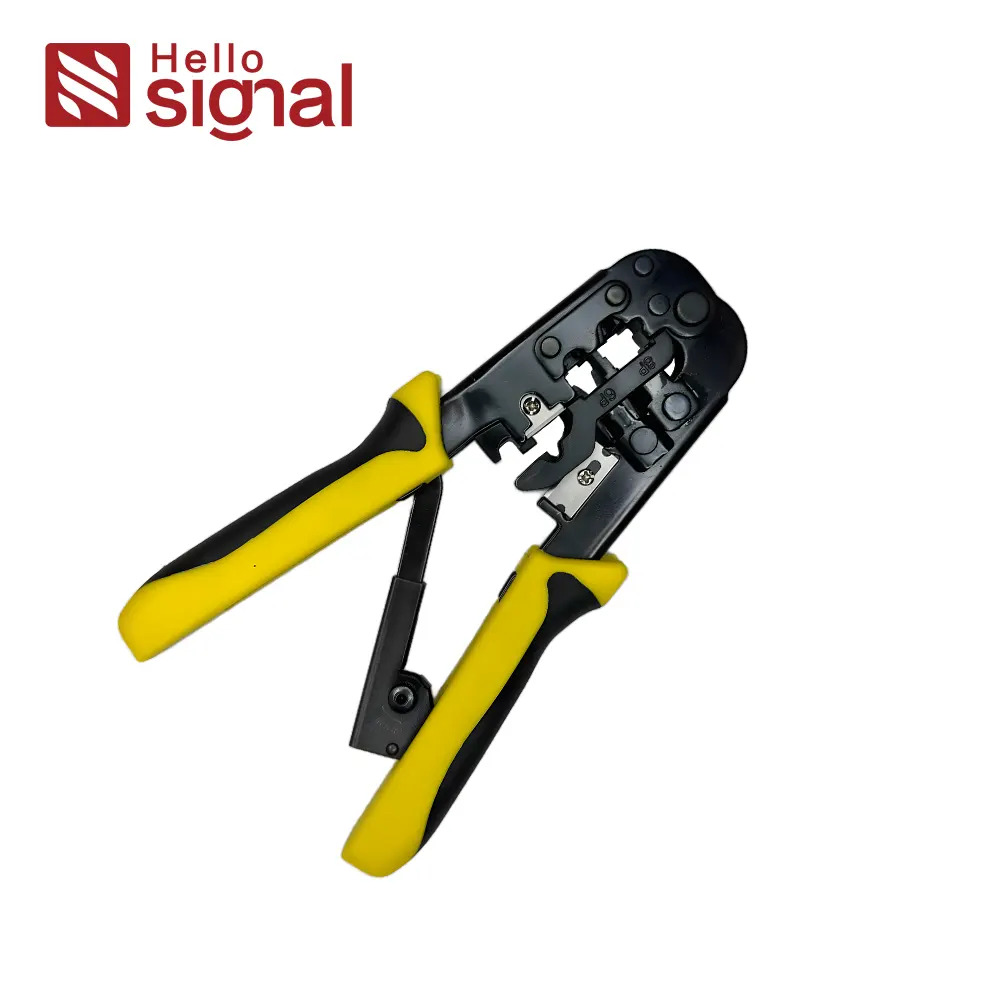
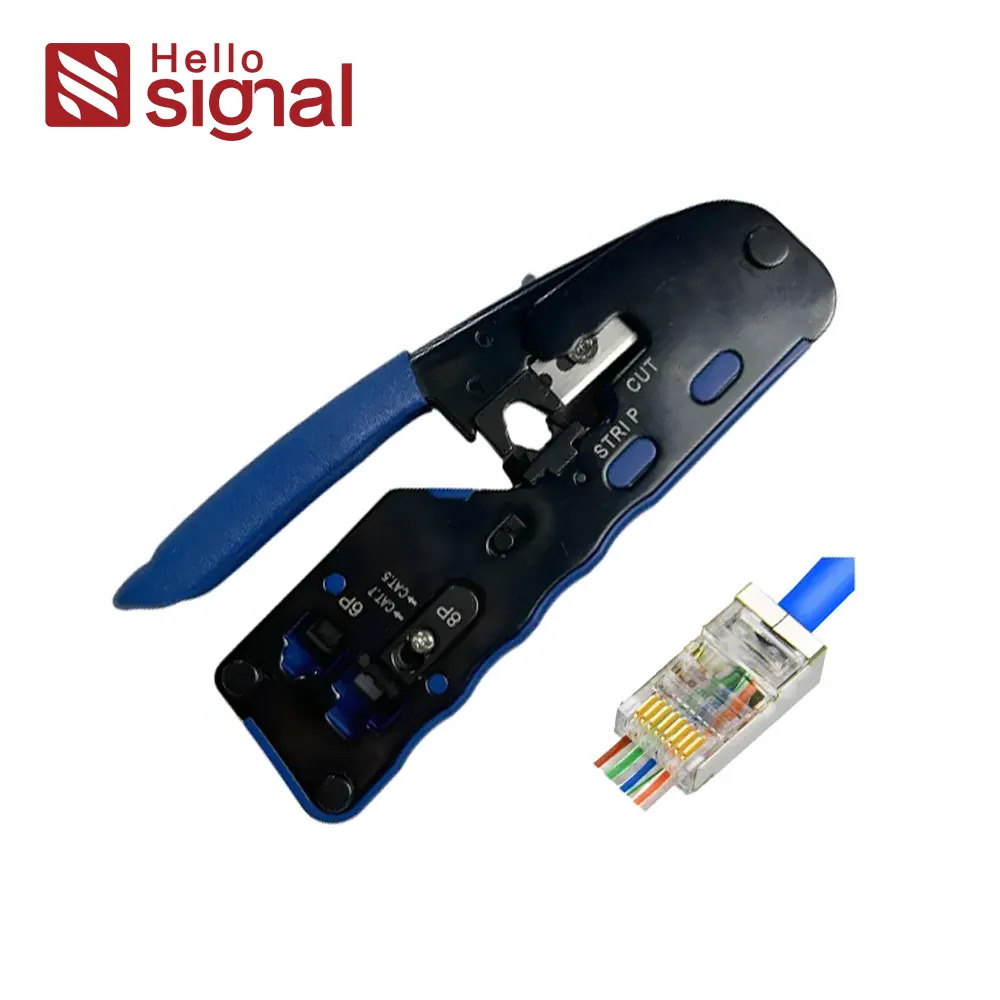
■ Recommended Tools for Network & Fiber Installers
Image | SKU | Name | Use/Application |
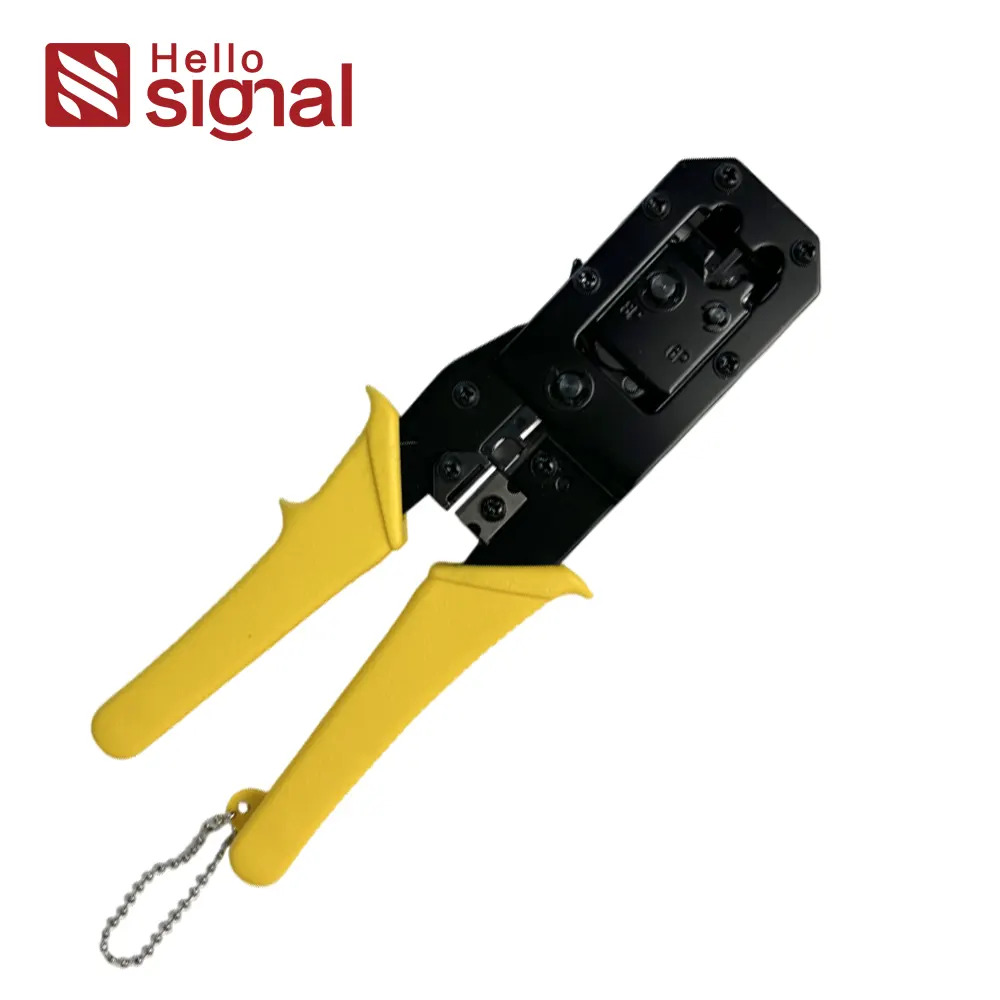 | ZCCS002-Y | Modular Plug Crimps Strips & Cuts Tool 6P+8P - Regular | For RJ45/RJ11 modular plug termination in fiber jumper cabling |
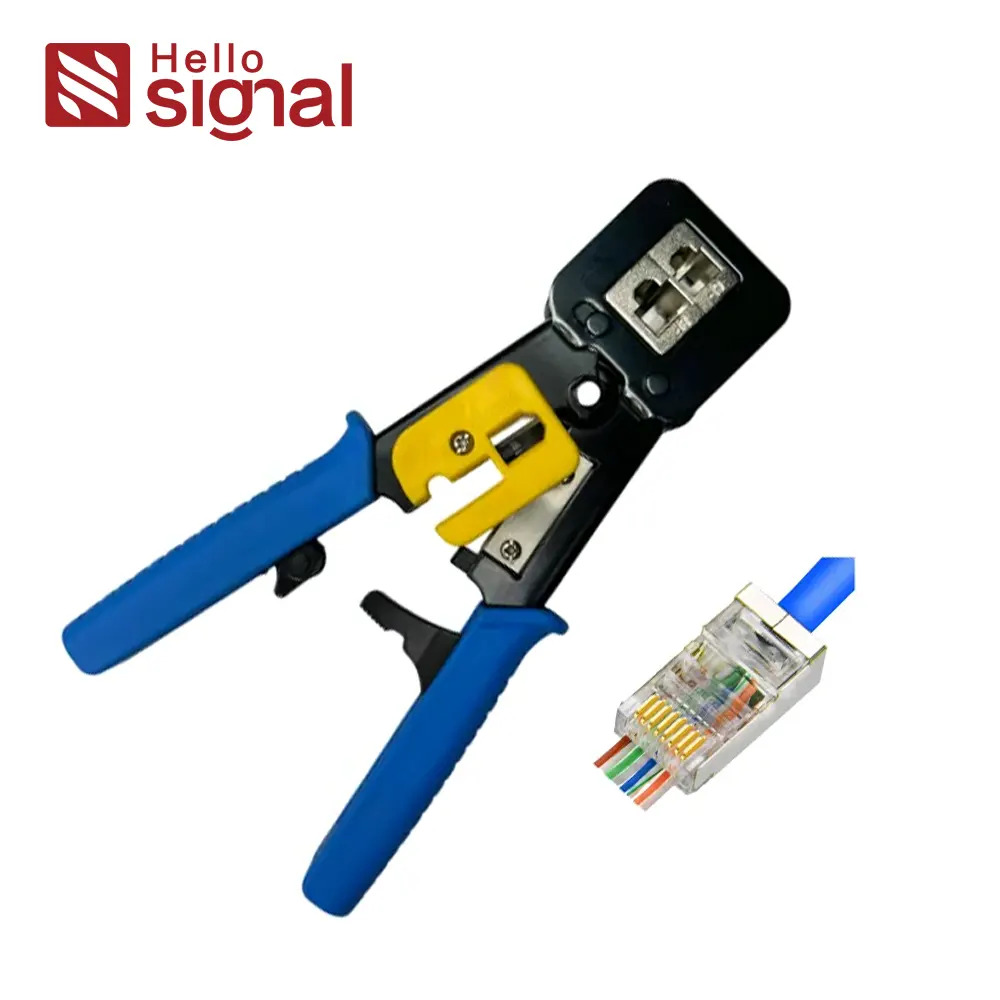 | ZCCS003-B | Modular Crimps Strips & Cuts Tool 6P+8P - EZ / End Pass Through | Ideal for pass-through type modular plugs in network and patch cable preparation |
 | ZCCS003-YB | Modular Crimps Strips & Cuts Tool 4P+6P+8P - Normal | Multi-purpose tool for diverse plug formats including voice/data |
 | ZCMPCT001-BBE | Modular Plug Crimping Tool - EZ / End Pass Through | Designed for high-efficiency plug assembly |
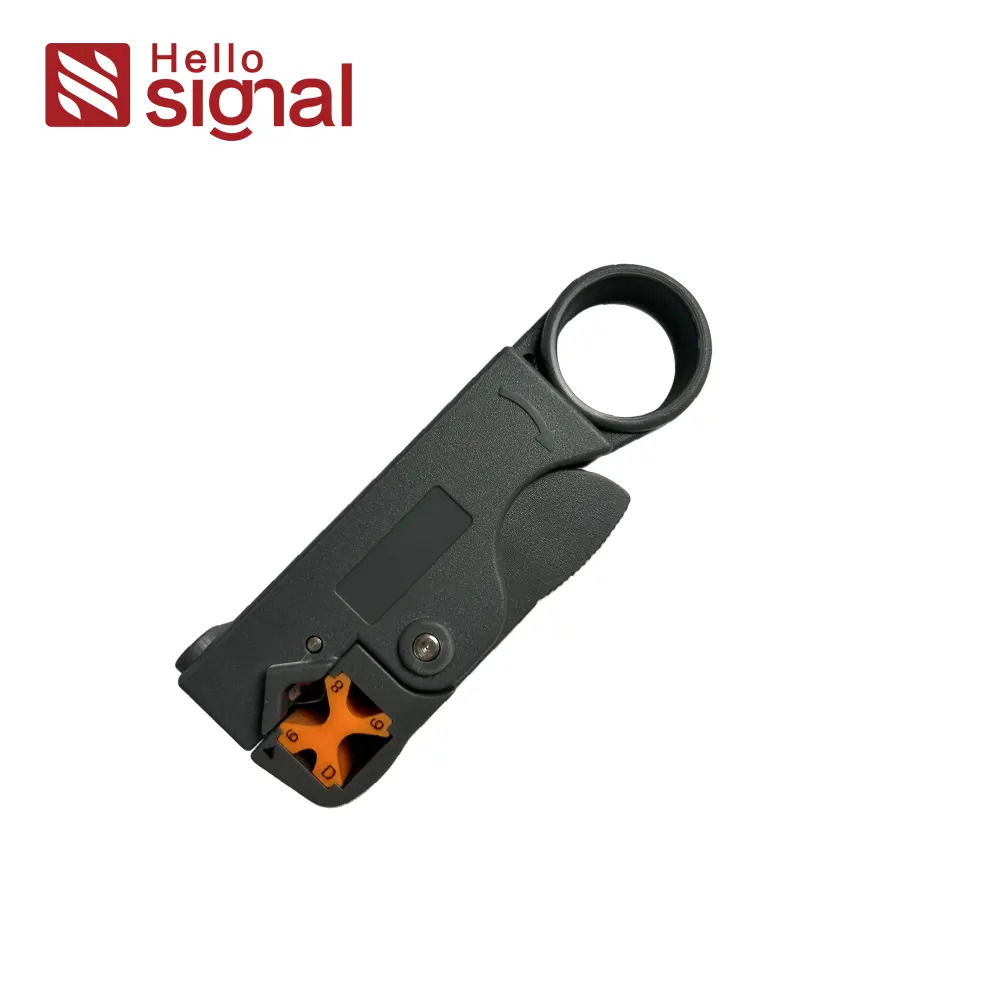
 | ZCWST001-G | Wire Stripper Tool for UTP/STP | Can be used to strip outer jacket of round/flat fiber patch cords and copper cables |
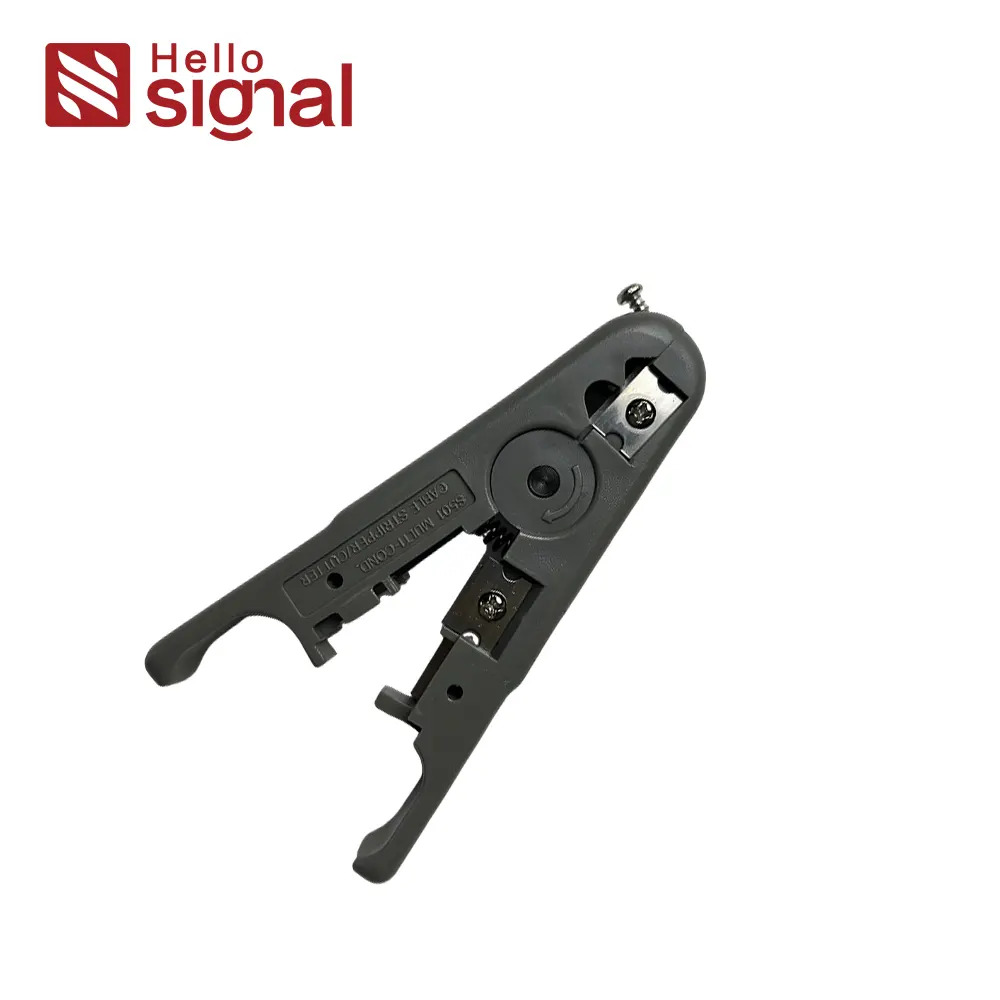
 | ZCRCCS001-G | Rotary Coaxial Cable Stripper-Cutter Tool | Also suitable for stripping thick fiber cable jackets in field deployments |
 | ZCPDT001-O | Punch Down Tool for Distribution Frames | Useful for terminating fiber patch panels with modular ports |
 | ZCPDT002-G | Impact Punch Down Tool with 110 Blade | Ideal for structured cabling blocks and telecom modules |
There is also good equipment to be used with woven optic wire and structured cabling that ZION Communication provides. These tools allow installers to carry out terminations quickly, and for many contractors involved in hybrid or integrated systems, these tools are invaluable. These tools can be often provided by system integrators, cable installers, and maintenance teams to facilitate and make the work easier at the site.
■ Sample Field Termination Procedure (ST Connector - Epoxy Method)
Despite the fact that the SC has now been just as common as the ST connector technique, it still remains an actual one:
Cable Prep – Cut off the jacket, expose Kevlar and buffer.
Kevlar Trim - It is narrowed according to needed length.
Buffer Strip - Cut to the length needed to expose bare fiber.
Epoxy Prep – Blend up [the resin] and load into the syringe fill hole, making sure that the ferrule connector is loaded correctly.
Fiber Insert – Insert and turn technical, making sure that only epoxy overflow.
Crimping – Collapsing or crimping the wires with a suitable tool.
Curing – Heating or UV-curing help the epoxy.
Fiber Scribe & Break – Manually snap with the help of scribe pen [talking about excess fiber].
Polishing – Sequentially polish using the films of 12µm, 3µm, and 0.3µm.
Inspect – The quality checking is done with a microscope to find out the cracks, if any.
■ Safety Tips
Use of eye protectors is a must.
All types of fiber waste disposal in the containers dedicated to the task.
Avoid using skin of your fingers to touch the bare fiber.
Avoid or refrain from using any kind of makeshift tools (for instance, electronics copper wires) as those can be damaging or bending.
■ Tips for Better Installation
Utilise black mats or work spots to improve the clarity of the optic fibers.
Starters must be outfitted with strain relief boots before fiber prep.
Polishing films should be changed out regularly to avoid improper or too much polishing.
Mix epoxy for more than one termination for efficiency and saving waste.
■ Final Inspection
After installation, test every connector using:
Microscopy examination
Loss testing with power meter
OTDR for splice and reflection evaluation
■ Conclusion
Field termination has just significantly gained speeding up and more productivity, still, the tools, technical knowledge, and accuracy are important as before. With tools provided by ZION Communication, the implementers can simply focus on remaining operational, consistent, and profitable for a longer duration in the cabling of fiber and structured systems.
Contact us for more information

Will is the Copper Cabling Product Manager at Zion Communication,
specializing in the development and marketing of Ethernet cabling solutions.
With extensive industry experience, he is dedicated to delivering high-performance
and reliable cabling products to OEM/ODM clients worldwide.
will@zion-communication.com
+86 -18268007201


